.avif)

You spend a lot of time and money acquiring customers - so much that there's an acronym for it - CAC or customer acquisition cost. One of the best ways to drive down your customer acquisition costs is to increase repeat customers. How much more valuable are repeat customers to your business? On average, repeat customers spend 3x more than one-time shoppers.
There are many ways to get repeat customers. You may have started a loyalty program, emailed out special offers or employed retargeting campaigns to encourage customers to return and complete that next purchase. The problem is digital channels are saturated and customers are harder to reach. Research shows the average consumer receives 88 emails per day. One way to diversify your marketing channels is by incorporating direct mail to reach your existing customers and turn them into repeat customers.
In this tutorial, we'll show you how to send a follow up email (with Gmail) and a postcard (with Lob) when an order is fulfilled from your Shopify store. Zapier, the no code tool, will help us automate this workflow. Once set up, the emails and postcards will go out automatically.
Access to the following accounts:
Zachary Swetz, product manager at Clearbit inspired the workflow we’ll use in this blog post. The workflow is titled Drive repeat Shopify customers with a personalized thank you email and postcard after they purchase.
You can also see the setup in this 10 minute video.
Let’s start by creating a test order with your email address. As we configure the workflow, we'll retrieve your test order from Shopify and use that customer information to send an email and create a test postcard.

Next, click Create Order for your newly created customer.

We are ready to connect Shopify, Gmail and Lob.
Go to our Zap page: Drive repeat Shopify customers with a personalized thank you email and postcard after they purchase.
Click on the “Try this Zap” button and login to your Zapier account.
We are going to trigger our Zap every time we get a new order on Shopify.
First, choose a Shopify account or connect a new account in Zapier.

Run a Test trigger to confirm you are receiving data from Shopify.

We don’t want to send postcards to EVERY order in our Shopify store - only under the following conditions.
*Do not* continue unless the order status = *Fulfilled*
*Do not* continue unless the customer has chosen to *Accept Marketing*
This means Shopify orders whose Line items Fulfillment Status equal “fulfilled” and Customer Accepts Marketing equals true.
You can modify these filters to support your specific use case.
The Zap is already configured for you. Click Filter setup and testing, then Continue to see the test order from Shopify.

The green banner with the message Your Zap would have continued, means your filter worked successfully on the test order from Shopify.

Click continue to select which Gmail account to send an email from.
If you connected your Gmail account previously, choose your email address or click Connect a new account.

Click To continue, finish required fields.
You’ll see we populate the To with the customer email address from our Shopify test order. Scroll down and update the From Name and Reply To email address to your own.

Send a test email to the Shopify test customer email address (make sure it’s YOU and not a real customer!).

Check the Sent folder in your Gmail Inbox to find the email.

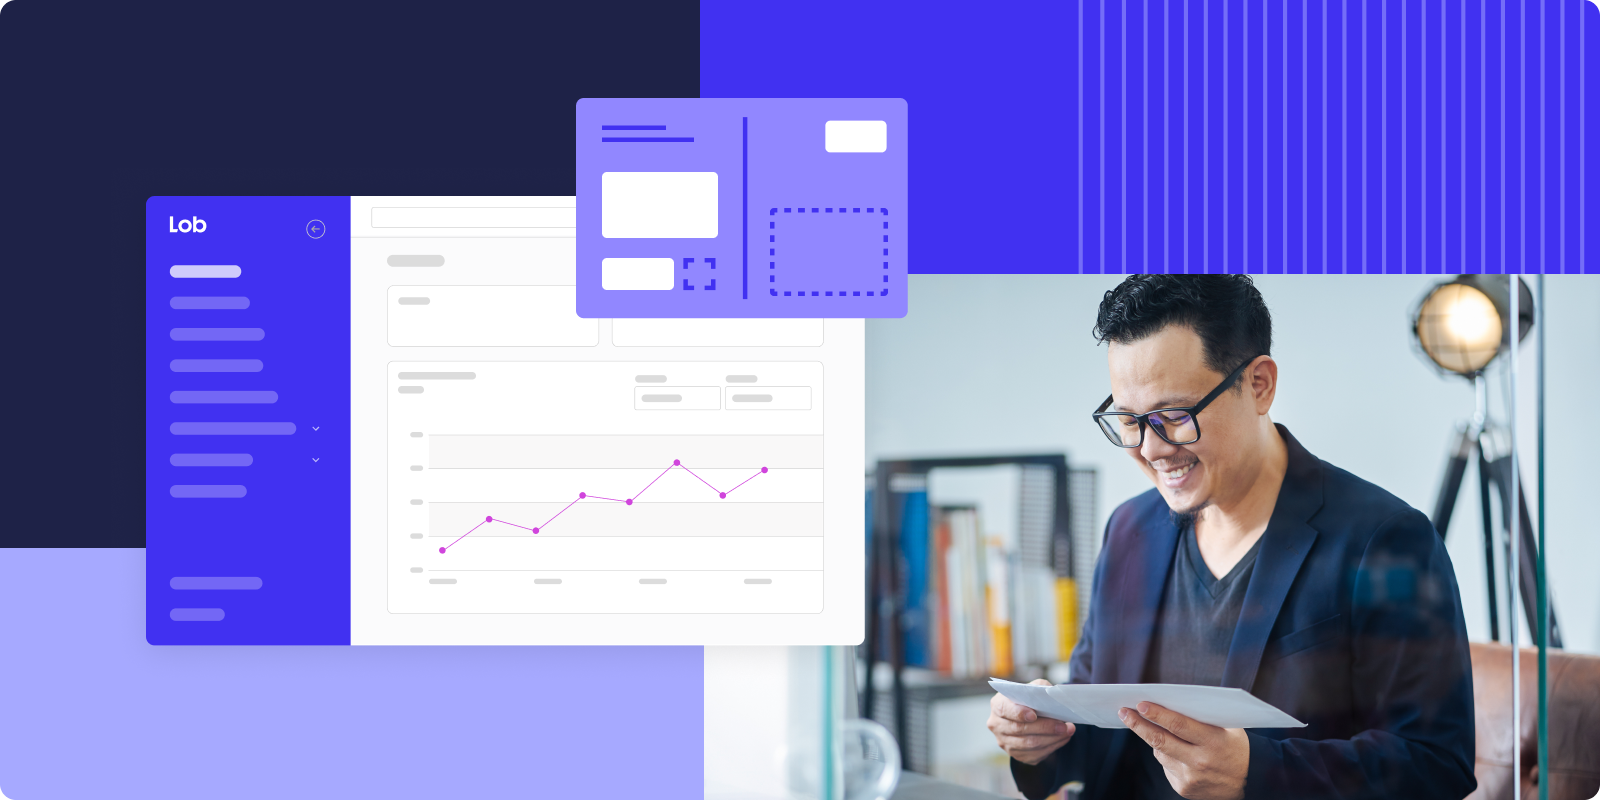
Now we move to the Lob action in the Zapier workflow. The Choose app & event section is already configured. No action is required.

Next, select Choose account. From the Lob account drop down select an existing Lob account or connect a new account.

You’ll be prompted to enter your Lob API keys.

Login to your Lob.com account and go to Settings > API Keys. Copy your Test Environment API key and paste into Zapier.

Back in Zapier, you can open the Set up action tab to see how we’ve configured the postcard.
Choose Lob action under Test action to confirm your test postcard is created successfully.

Login to Lob.com dashboard and go to the Postcards section to see a preview of your test postcard.

That's it! Now, after customers purchase on your store, you automatically:
When you are ready, to turn on this Zap, upgrade to a paid Lob account and make sure you update your Lob API key from Test to Live.
To learn more about Lob, request a demo today!
FAQs

Answered by: